

Workspaces
Using workspaces are a way to group projects that are related as well as a way to group together configurations that you would like to be reused across projects.
Workspace settings
Section titled “Workspace settings”In workspace settings you can change name and description of the workspace as well settings related to applications installed through the marketplace or created by the organisation.
Services
Section titled “Services”In this section you configure all your available applications. Theese services are automatically inherited by projects and vertices downstream.
Configuration inheritance
Section titled “Configuration inheritance”Workspace level settings will be applied by default but can be overwritten on individual projects or even vertices.
What settings and how the settings is configured is up to the application author to decide, it doesn’t change the inheritance behaviour.
flowchart LR
    W[Workspace]
    P[Project]
    V[Vertex]
    W --> P --> V
Danger Zone
Section titled “Danger Zone”This is where you can choose to delete the workspace and all its projects. This does not delete published projects automatically.
Projects
Section titled “Projects”A project is the canvas on which you build and configure on. While building a project you do not affect any project that exists in production.
To create a project, go into the workspace where you want to build and press NEW in the top right corner, set a name and a good description. A project name does not have to be unique, but name and description can of course be changed.
Build a project
Section titled “Build a project”After the project has been created on the canvas there is only one vertex, the start vertex.
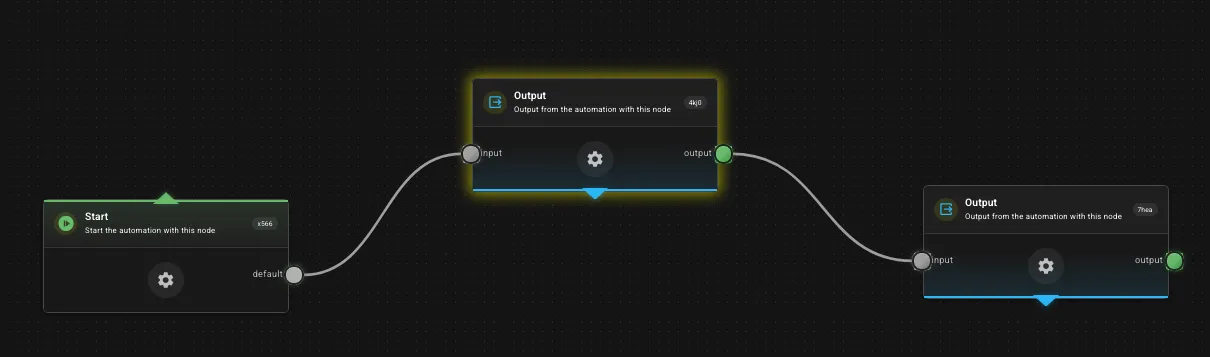
In the sidebar to the left you will find native nodes on the top as well as installed applications. To start building you simply drag and drop applications onto the canvas. To connect an application to the start node click and drag from the transmitter ⬤ on the start node to the applications receiver ⬤
Project settings
Section titled “Project settings”In a project on the bottom of the canvas there are three buttons.
- Cogwheel - Project settings
- Upload - Publish your project
- Play - Run the project
Pressing the cogwheel gets you to the project settings. On the default tab you can edit the name and description of the project.
Services
Section titled “Services”Configure credentials and other variables that the different applications use. This will override the settings done in the workspace settings for this project.
Constants
Section titled “Constants”Here you can create constants to be used as normal signals throughout the project. You bind constants in the same way as you bind any other signal. Just make sure that the constants follows the JTD schema of the receiver in the application.
Danger Zone
Section titled “Danger Zone”This is where you can choose to delete the project and all its contents. This does not delete the published project automatically.
Publishing a project
Section titled “Publishing a project”When you are done and would like to move your project into production to embed it or call it through some service, press the upload button in the bottom button row.
Updating published projects
Section titled “Updating published projects”When there is a need to do changes, update applications or similar. Simply do the edits in the project you would like to alter, test run it and whenever you feel ready to publish the project again. Press the publish button again and overwrite your current published deployment.
Vertices
Section titled “Vertices”A vertex on the canvas is each individual rectangle in the graph.
Vertex settings
Section titled “Vertex settings”Each vertex has up to four different sections within the settings. Each section with the exception of config and services will be identical across the platform.
Config
Section titled “Config”This section is up to the application author to decide what needs to be configured and how. This enables an application to be as easy and/or complex to configure as the author thinks fits the purpose best. Not all applications will have a config.
Services
Section titled “Services”This section is used to define variables that can be scoped on workspace, project and vertex level. Typically this is used for authorization and other variables such as CSS for UI applications.
Receivers
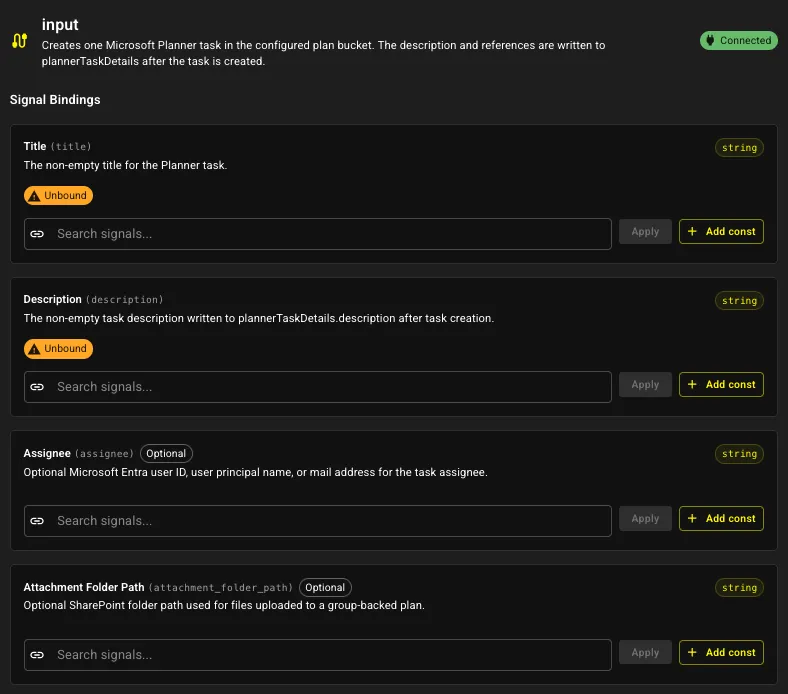
Section titled “Receivers”This section is used to bind signals from constants or upstream vertices to the corresponding receiver and will look the same independent of the application. A receiver can be required or optional. Only signals compatible with the JTD schema of the receiver will be possible to bind to a receiver. Press the field in the receiver you would like to bind and select compatible signals in the dropdown.
Transmitters
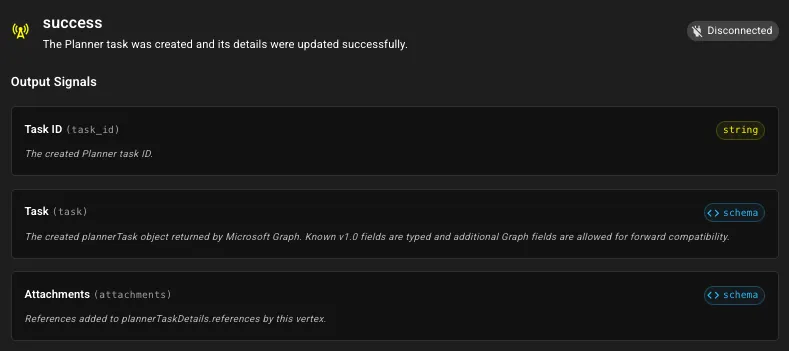
Section titled “Transmitters”This section is used to look at the signals transmitted from the vertex and will look the same independent of the application. On applications with multiple transmitter you will see multiple tabs in this section, each individual schema will have a corresponding JTD schema. by pressing the schema-pill on the right a modal will open where you can copy the JTD schema.
Deleting a vertex
Section titled “Deleting a vertex”Press the vertex you would like to delete, press delete or backspace on your keyboard and press delete in the confirmation dialog.